
Your Cart
Gift Box Insert Trays: How to Design the Part That Actually Protects Your Gift Set
When a holiday gift set gets returned, the artwork is almost never the reason. The box printed beautifully; what failed is the part nobody photographed — the insert. Components shifted, rattled, scratched each other, or arrived looking nothing like the mockup because nothing held them in place.
We see this every season. Buyers spend their review cycles on box graphics and finishes, then treat the gift box insert tray as an afterthought ordered last and checked least. But the insert is the part doing the actual work: it positions every component, absorbs transport shock, sets the pace of your assembly line, and decides what the customer sees in the first second after opening. This article covers the four things an insert has to get right — and how to specify each one.
Four Jobs the Insert Does That the Box Cannot
Positioning. Each component sits in its own cavity and stays there. Without positive location, parts migrate in transit — a sauce jar leaning against a chocolate, a spoon printed into the lid. Positioning is what turns "a box of things" into "a set."
Protection. Divided cavities stop components from touching each other, and the tray wall — not the cardboard — takes the impact. Cardboard boxes have almost no crush resistance on their own; the molded structure underneath is what carries a stacked pallet.
Presentation. A clear insert shows every component at full opening, arranged the way your photos promised. For gift sets, that first-open moment is the product.
Assembly speed. On the kitting line, a well-designed insert is a fixture: parts drop in, orientation is obvious, and nobody reads instructions. A badly designed one slows every single box you pack — and gift pack assembly runs into thousands of units in a very short window.
Cavity Design: Where Most Gift Pack Problems Start
A cavity is not a hole shaped like your product. Get these four details wrong and the insert fights you all season:
Tolerance. Design cavities around the real, largest product dimension — including caps, wrappers, ribbons and stickers — plus about 1–2 mm of clearance. Too tight and assembly slows to a wiggle; too loose and the "positioning" job silently disappears.
Depth and release. The product should sit low enough to be held, but come out with fingers, not tools. Shallow side notches under each cavity cost nothing in tooling and save seconds on every unit packed.
Divider walls. Walls between cavities carry the stacking load and stop cross-contamination of scents and finishes — which matters more for confectionery than most buyers expect. The spacing and wall height on inserts like a macaron tray insert built for food transport are sized so each shell is gripped, not clamped, through handling and cold-chain rides alike.

The tray above shows the typical answer for a two-part gift set: one generous cavity for the hero product, two smaller ones for the accompaniments — all in a single formed piece, so the kitting line handles one part instead of three.
Design for the Kitting Line, Not Just the Shelf
Every gift pack passes through human hands at assembly, usually at seasonal overtime speed. Three details decide whether that goes smoothly:
Foolproof orientation. If the insert can be placed rotated 180° and the cavities still "work," someone will pack half the batch before noticing it is backwards. Asymmetry that only fits one way costs nothing and eliminates an entire class of error.
One part where possible. The comparison below is the everyday decision: one undivided tray plus separate dividers, or a single piece with the dividers molded in. The one-piece version is faster to assemble and cannot be packed with a divider missing — the multi-part version is cheaper per tray. At gift-set volumes, assembly time usually wins.

Flange that seats on the box rim. The insert's flange should rest on the tray platform inside the box so the insert cannot sink under load. Ask your box supplier and tray supplier to exchange drawings before either cuts material — insert-to-box fit is the most common dimension nobody owns.
Stacking and Transport: The Load Path Nobody Draws
Gift packs get stacked — on pallets, in mixed freight, in the stockroom of a store that is already full for the season. The insert is what turns a stack of soft boxes into a structure:
Ribs and radii carry the load. Thin flat spans flex; ribbed walls and generous corner radii do not. This is basic thermoforming practice, but it only happens if the supplier knows your stacking height — five high on a pallet and five high on a shelf are different specifications.
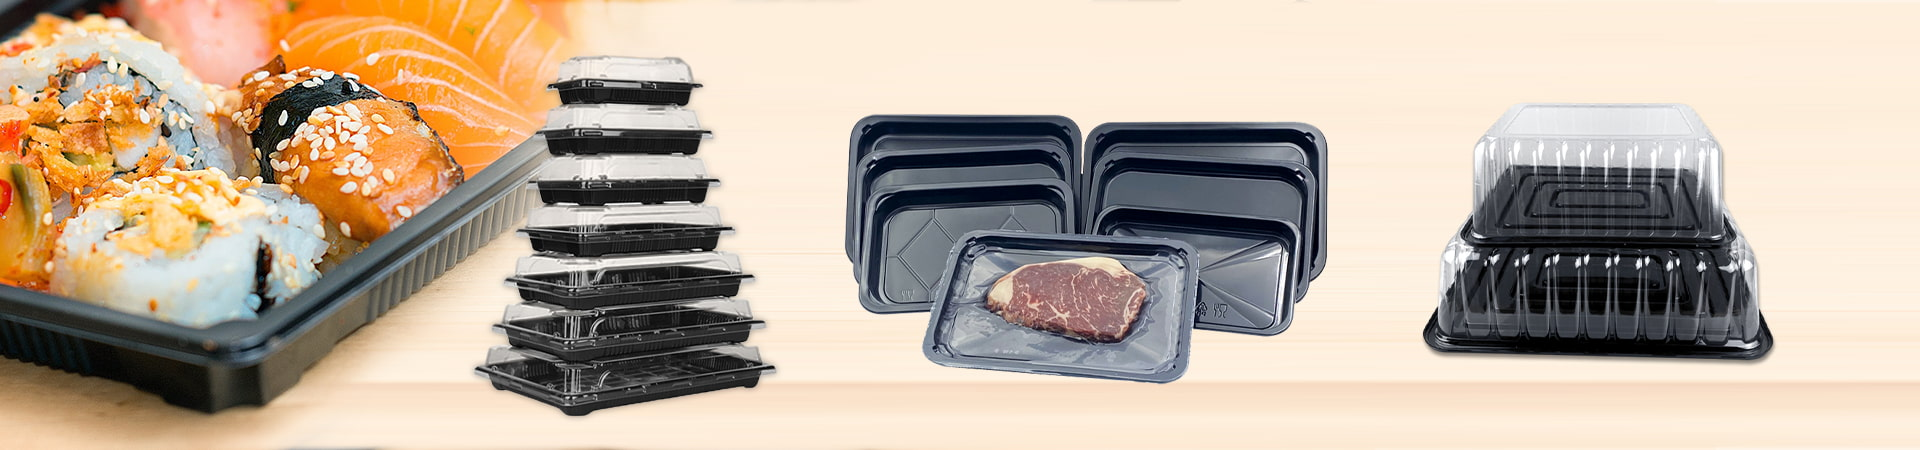
Nesting protects the empty trays too. Inserts ship before they are used, and thousands of them ride in one carton. Trays like these vacuum packaging trays for food nest into each other with only their flanges touching, which means the stacked height — and your freight bill — stays predictable. Ask for the nested height per 100 pieces when you compare quotes.

Material: Clear, Food-Safe, and Honest About Budget
For most gift sets the choice comes down to clarity versus cost:
Clear PET / rPET when presentation leads — the customer should see the arrangement the moment the lid lifts. It is also the material that fits the mainstream recycling stream in the EU and UK, which increasingly matters for seasonal packaging that retailers scrutinize.
Opaque HIPS / PP when the box closes over the insert anyway, or when the brand runs a specific color. Cheaper per unit, invisible on opening — a reasonable trade if the first-open moment is carried by the box design instead.
One honest cost note: not every gift pack needs a fully custom mold. Where an existing cavity layout happens to fit your components, a stock tray such as a low-price clear vacuum packaging tray specified as the insert can carry the set at a fraction of custom tooling cost — the practical trick is matching your product to an available cavity rather than assuming everything must be bespoke. If the insert touches food directly, whatever you choose must be food-contact grade and documented as such.
Six Things to Confirm Before You Order
1. The real dimensions of every component, measured at their largest point — with caps, wraps and labels on.
2. The inner dimensions of the finished box, from the box maker's drawing, not from a sample you measured once.
3. Component count per set, and whether sets vary by market — a cavity map per variant beats one insert per SKU.
4. Assembly orientation, and whether the insert only fits the box one way.
5. Food contact: which parts touch food directly, and the compliance documentation for that grade.
6. A physical fit test: the insert into the actual box, with the actual products, packed and shipped once before mass production. Free sample services exist exactly for this step, and it is the cheapest failure you will ever catch. The iteration itself is short — a typical insert goes from drawing to fitted sample in a few rounds, as our three-step customization guide lays out.
Four Questions to Ask Your Insert Supplier
1. Does a cavity in an existing mold fit our components? The difference between a stock insert and a new mold is weeks of timeline and most of the tooling budget.
2. What stacking height is the design rated for? Give them your real pallet pattern; ask how the rating was validated.
3. What is the nested height per 100 inserts? It drives your inbound freight and your warehouse space in the busiest weeks of the year.
4. Will you trial-fit the sample in our actual box? A supplier who asks for the box drawing — not just the insert dimensions — is the one who has done this before.
Frequently Asked Questions
How much more does a custom insert cost than a stock tray? The mold is the cost, not the part. Once tooling exists, per-unit prices converge; the real question is whether your season's volume justifies the tooling, or whether a stock cavity layout gets you 90% of the fit for none of it.
Can one insert hold different products in the same set? Yes — mixed-cavity layouts are standard. Design each cavity for its own component and keep a shared datum so variants can share the same tray where possible.
Clear or colored insert? Clear if the insert is seen at opening; colored or opaque if it is fully covered. Choose clarity for the first-open moment, opacity for budget.
What is the minimum order for custom inserts? Thermoforming runs economically from a few thousand units upward, and lower for modified stock molds. Ask for the break-even volume between a modified stock tray and a full custom tool — it is usually lower than buyers assume.
How long does an insert-only order take? Modified stock formats sample in days and produce in 2–3 weeks. New tooling adds mold-cutting time — which is exactly why insert decisions belong at the start of the holiday packaging timeline, not the end.
The Bottom Line
A gift box insert tray is not an accessory to the box — it is the component that positions, protects, presents and speeds up everything else. Specify cavities around the real product dimensions, design for the hands that will pack it, make the load path explicit, and put a fitted sample into the actual box before mass production. Do those four things and the unphotographed part of your gift set quietly does its job all season.
Designing Inserts for a Holiday Gift Set?
Send us your component dimensions and box drawing — we will check existing mold options and quote both stock and custom routes.
Get an Insert Quote